This article explains our decision to migrate shared hosting to VPS and of course how you can replicate the process if needed. For almost 7 years we blogged here at DearBlogger on either a Hatchling or Baby plan. Talk about growing a business on the same great budget hosting plan! But hosting promos aside, I’d like to explain why we recently felt the need to migrate from our shared hosting to VPS aka upgrade hosting plans, what went right and wrong in the hosting migration process, and how we successfully ended up on a nice and spacious VPS hosting plan.
Why We Chose to Migrate
Shared hosting plans are the best choice for a new WordPress blogger or website owner. You get prices as low as $2.64/mo, domain name discounts, free SSL, and most importantly free 1 click WP installs. You can do so much here with WordPress.org and really flex your muscles.
But once you create a larger site, one with many authors, plugins and custom code, you may notice things slowing down a bit.
This is what happened to DearBlogger.org.
Our resource usage on the shared plans just got too big. We were basically a host hog or bully and I didn’t even realize it.
But thinking back on our server issue, like being hacked in 2014, and getting so much traffic across all our sites (we also have about 30 demo sites in place for YouTube tutorials) that we had to go cache only, which is a situation where your sites become only a cached version of themselves, and you physically cannot update them. It was inevitable we’d have to get our own space. It was time to migrate shared hosting to VPS.
So, VPS seemed like the best solution. Much cheaper than Dedicated, with plenty of room to keep growing and tools to play with.
The Shared to VPS Migration Process (from Start to Finish)
So what is required to migrate from shared hosting to VPS, and what’s the process like?
Here’s what we needed to migrate from shared Baby to VPS:
A new hosting package
We first had to order of VPS and chose the Snappy 8000 plan from HostGator.
A discount
We got the 36 month plan so this discount for sure helped, which live chat applied for us. Live chat can also place the order for you.
About 7 days time
The process to actually move and migrate shared hosting to VPS and copy all the files over was completed by HostGator’s amazing transfers team within about 3 days. Basically one day to order the package, one day to request special help, then one day for them to actually move everything. After than, it took us about a day to figure out what the heck was going on at GoDaddy with our domain names, then 72 hrs from that point for propagation (still just as brutal as usual).
What were the steps we completed to migrate shared hosting to VPS? Here’s everything we did in start to finish order:
- Register new Snappy 8000 VPS.
- HostGator will email you saying they’ve received and processed your migration request.
- We emailed our contacts at HostGator asking to expedite the process
- HostGator migrations emailed use the morning they begun work and had start to migrate shared hosting to VPS.
- We were sleeping so didn’t get the email chain until it actually said work was done, about 4 hours later 🙂
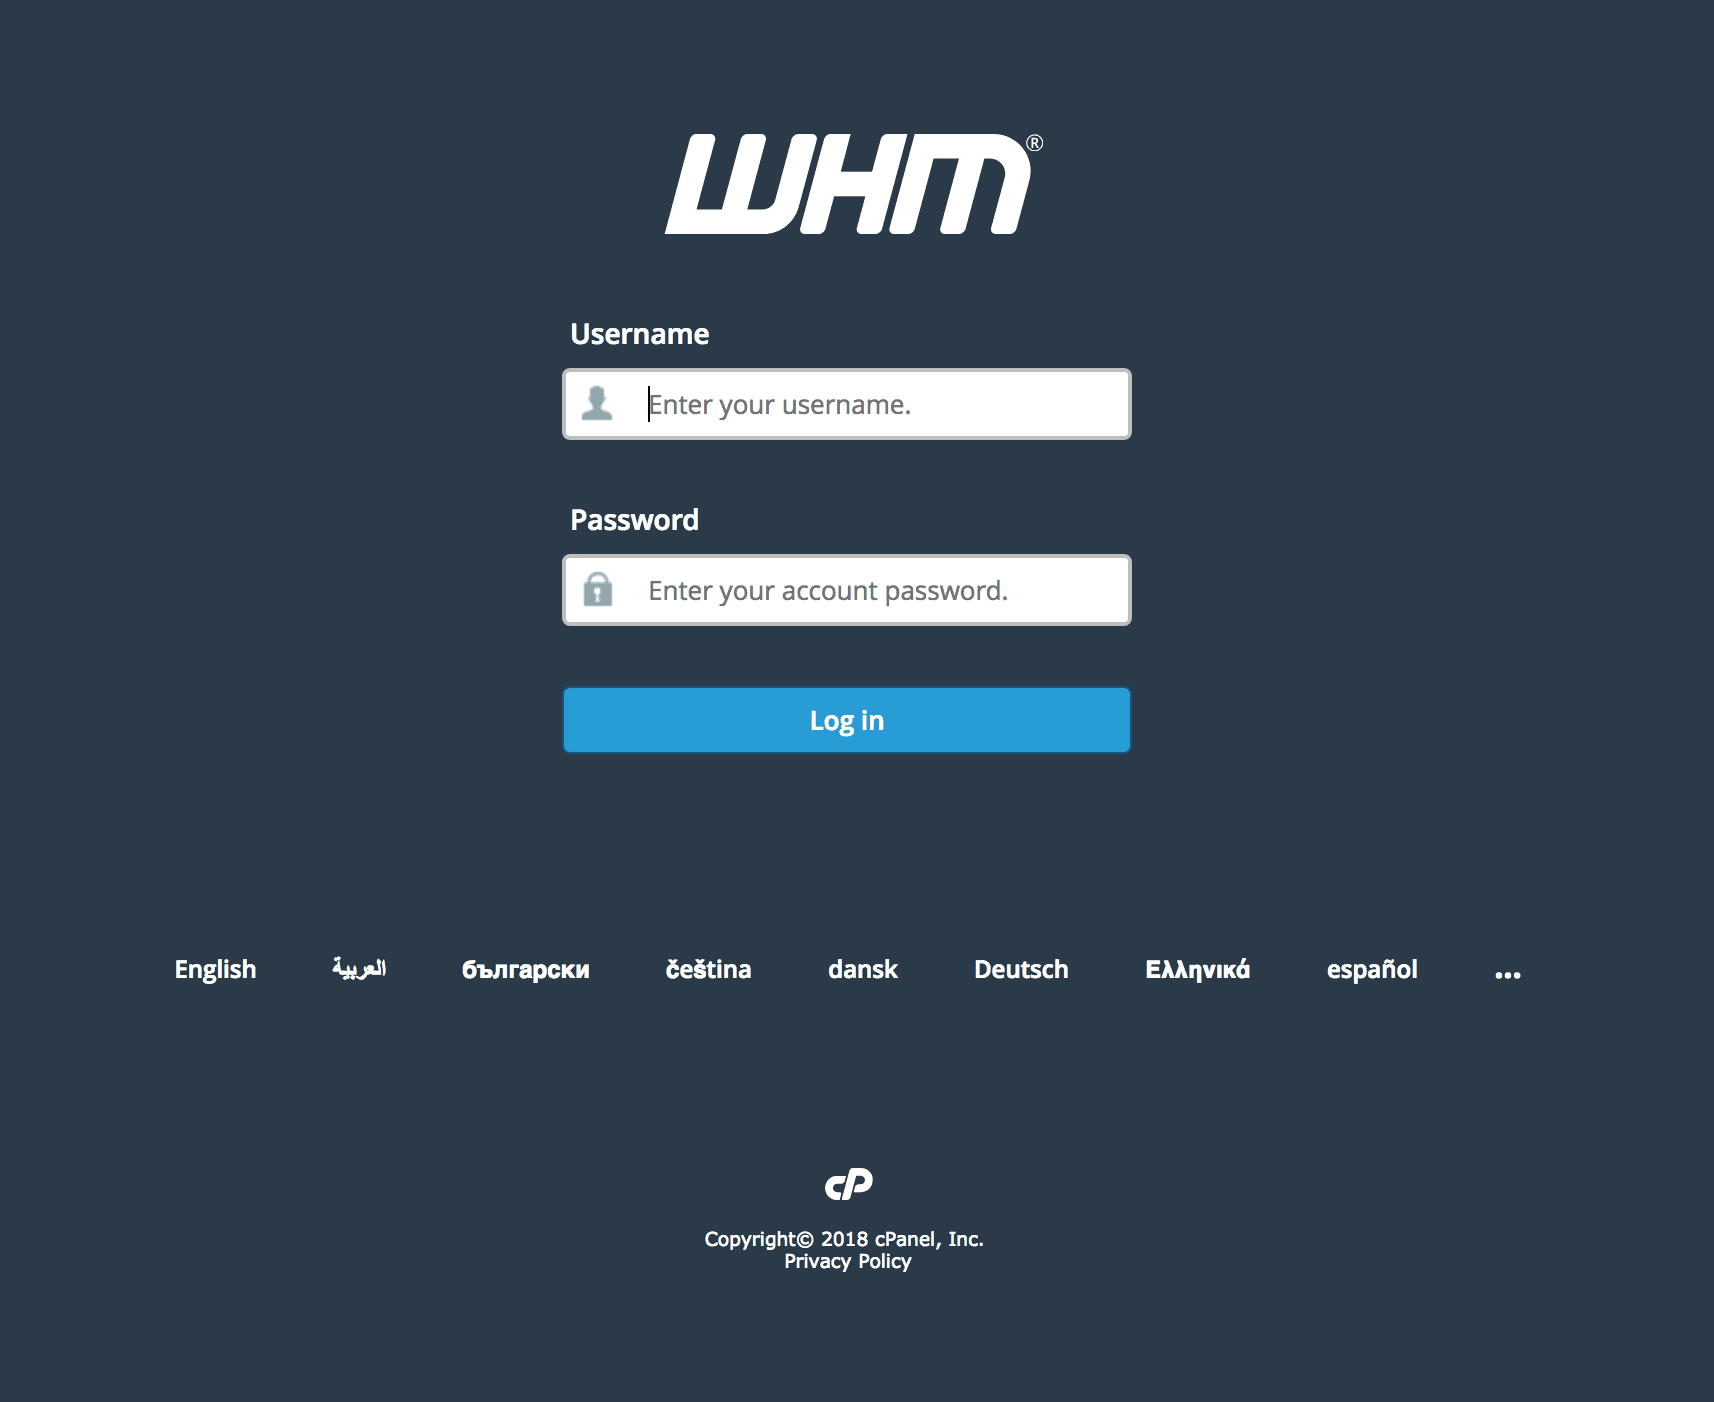
- Login to the new VPS WHM plan. We had to got to honestcollege.com/whm to login, cool new look for sure.
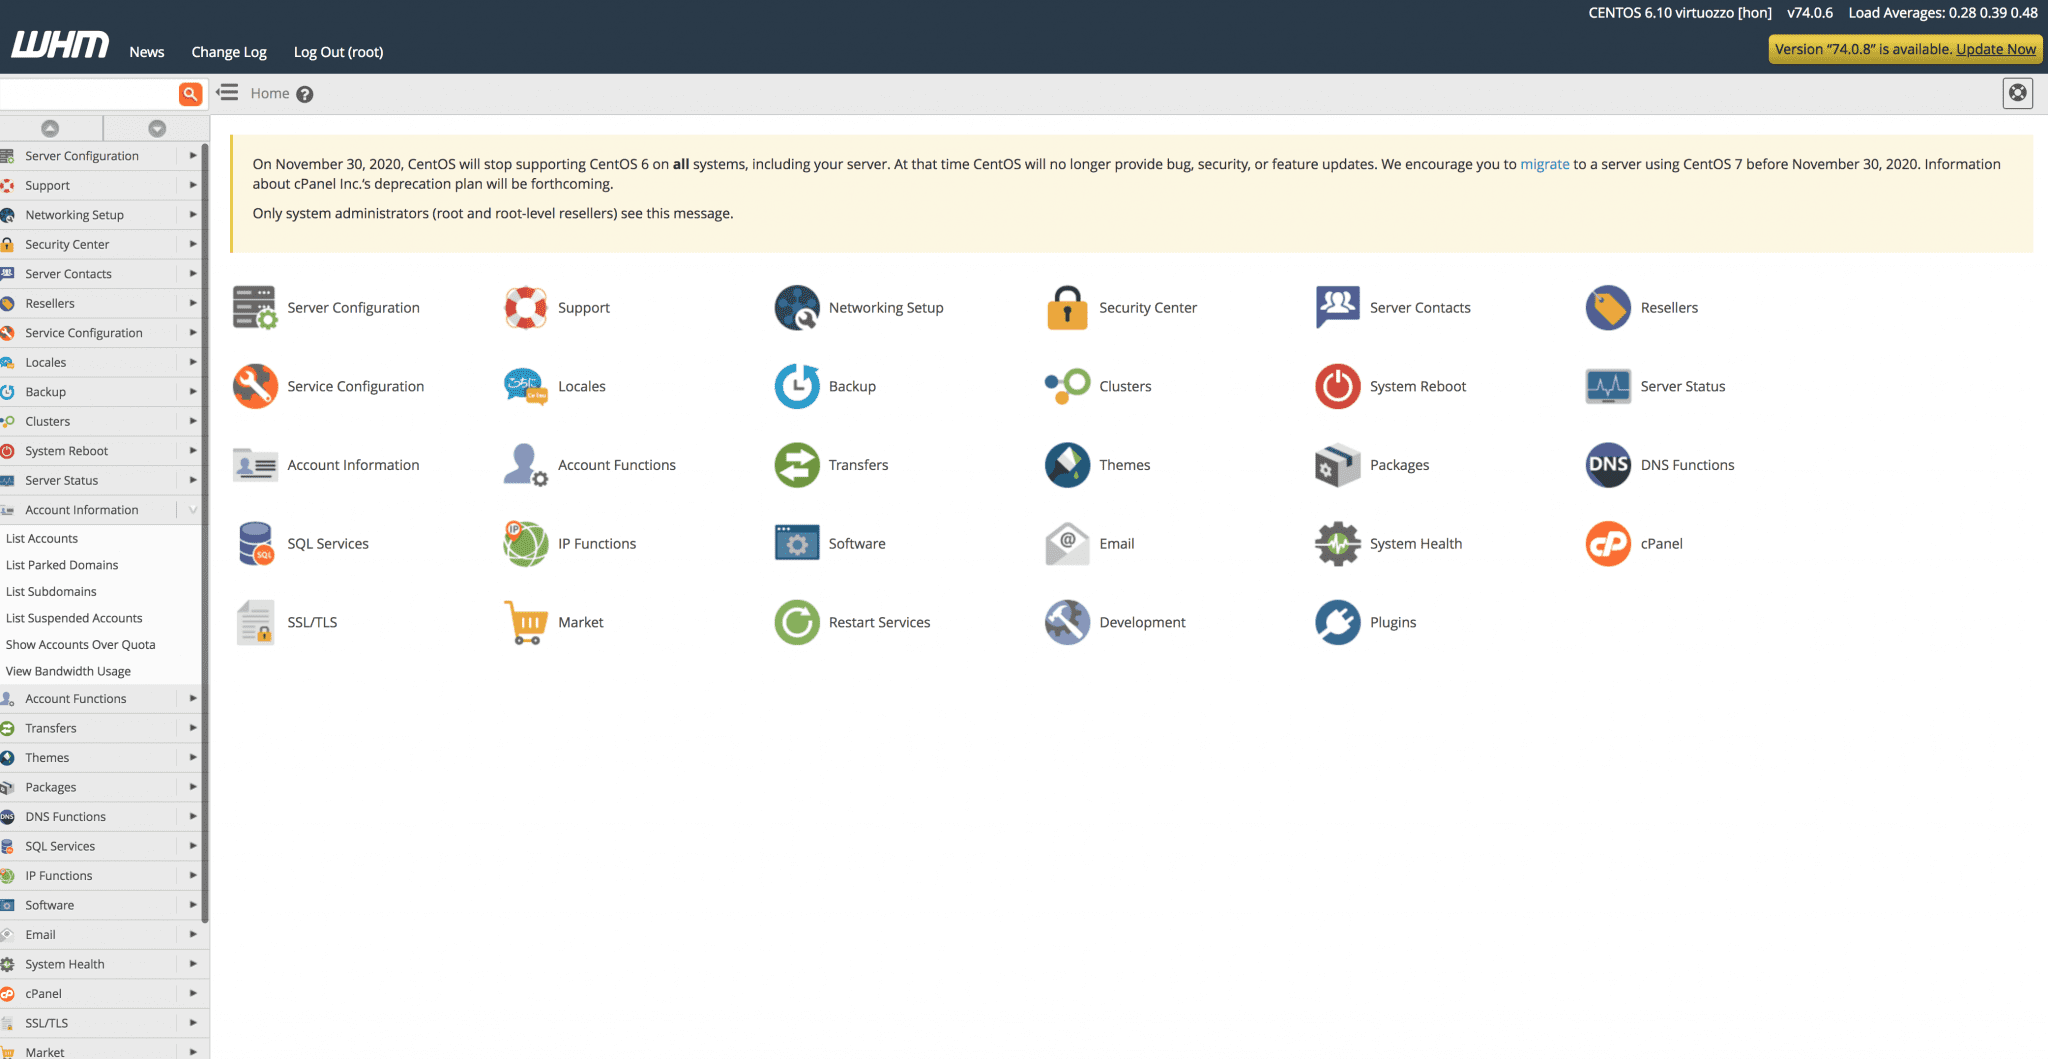
- Figure out where cPanel was. Then examine sites with full instruction from them.
- Visit our domains at GoDaddy (not all, but some).
- Register private nameservers for our primary account, honestcollege.com. This step has to be done before you reset nameservers and is indeed a separate step, explained in this HostGator support article, which is a little confusing at first but makes sense now.
- Enter new nameservers from HostGator Your Account Info email (obviously you get a new one of these, throw back!)
- Examine sites to see if they’ve propagated.
- What you SHOULD NOT do during propagation is write new blogs, change the code, or add plugins. Of course I tried to. What happened was basically propagation did go through in about 1 hour, so I was able to make some awesome changes and thought I was in the clear as far as propagation being done. What happened next was bad. Propagation (and the servers in my neighborhood) decided to start showing me old versions of the site in that 72 hour period. So it got very confusing making changes, then seeing a site without those changes. This solved itself after 72 hours, but was quite confusing because you get that feeling of “Oh, yes! It’s working” then it all of a sudden stops working and you didn’t do anything wrong.
- Okay so after 72 hours we had the sites propagated and ready for their new SSLs. The next step was to install Really Simple SSL and run the plugin to start showing https and padlocks.
- After setting up SSLs, I had to read all about http vs https and how getting https to please Google’s new rules can actually result in losses of organic traffic if you’re not careful.
- Basically I had to setup the canonical versions (preferred) of the site in Google Webmaster Central. This means adding http and http for both the www and non www version of your site (so 4 entries total) then choosing which is the preferred version for Google to rank in Search.
- With SSL working, it was time to reconfigured W3 Total Cache. This took some serious further work. What I learned is that making too many changes to W3 settings can cause lots of strange code to written in your .htaccess file. So you may need to monitor this .htaccess file and remove unnecessary lines. In the end, I just unchecked the CDN box in General Settings of W3, and voila, our site was loading fast as ever (without old caches of it showing errors).
- You should know that when you make a major migration like this, you will sometimes see errors including but not limited to 500 errors, white pages with links, and more. When you repeatedly see an error, it can be a result of the error persisting, or simply your site showing a cache (older version of your site, back when had the error). So don’t believe everything you see, I guess 🙂
Basically when you upgrade from Shared to VPS it’s a lot of work. You should strongly consider how your site’s performance is doing on Shared Plans like Hatchling or Baby before upgrading. If you’re doing just fine, there’s no need to the added burden of work. Migrating was however a fun learning experience, and we’re now in a position to grow a ton more. So it really boils down to where your own blog or website growth is.
What’s it Like After You Migrate Shared Hosting to VPS?
VPS is quite nice. The cPanel lives inside WHM. It really just feels like we bought a totally new apartment with a ton more space, a bigger fridge maybe, a hot tub, who knows.
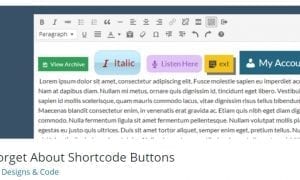
Here are some screenshots of our new hosting environment:
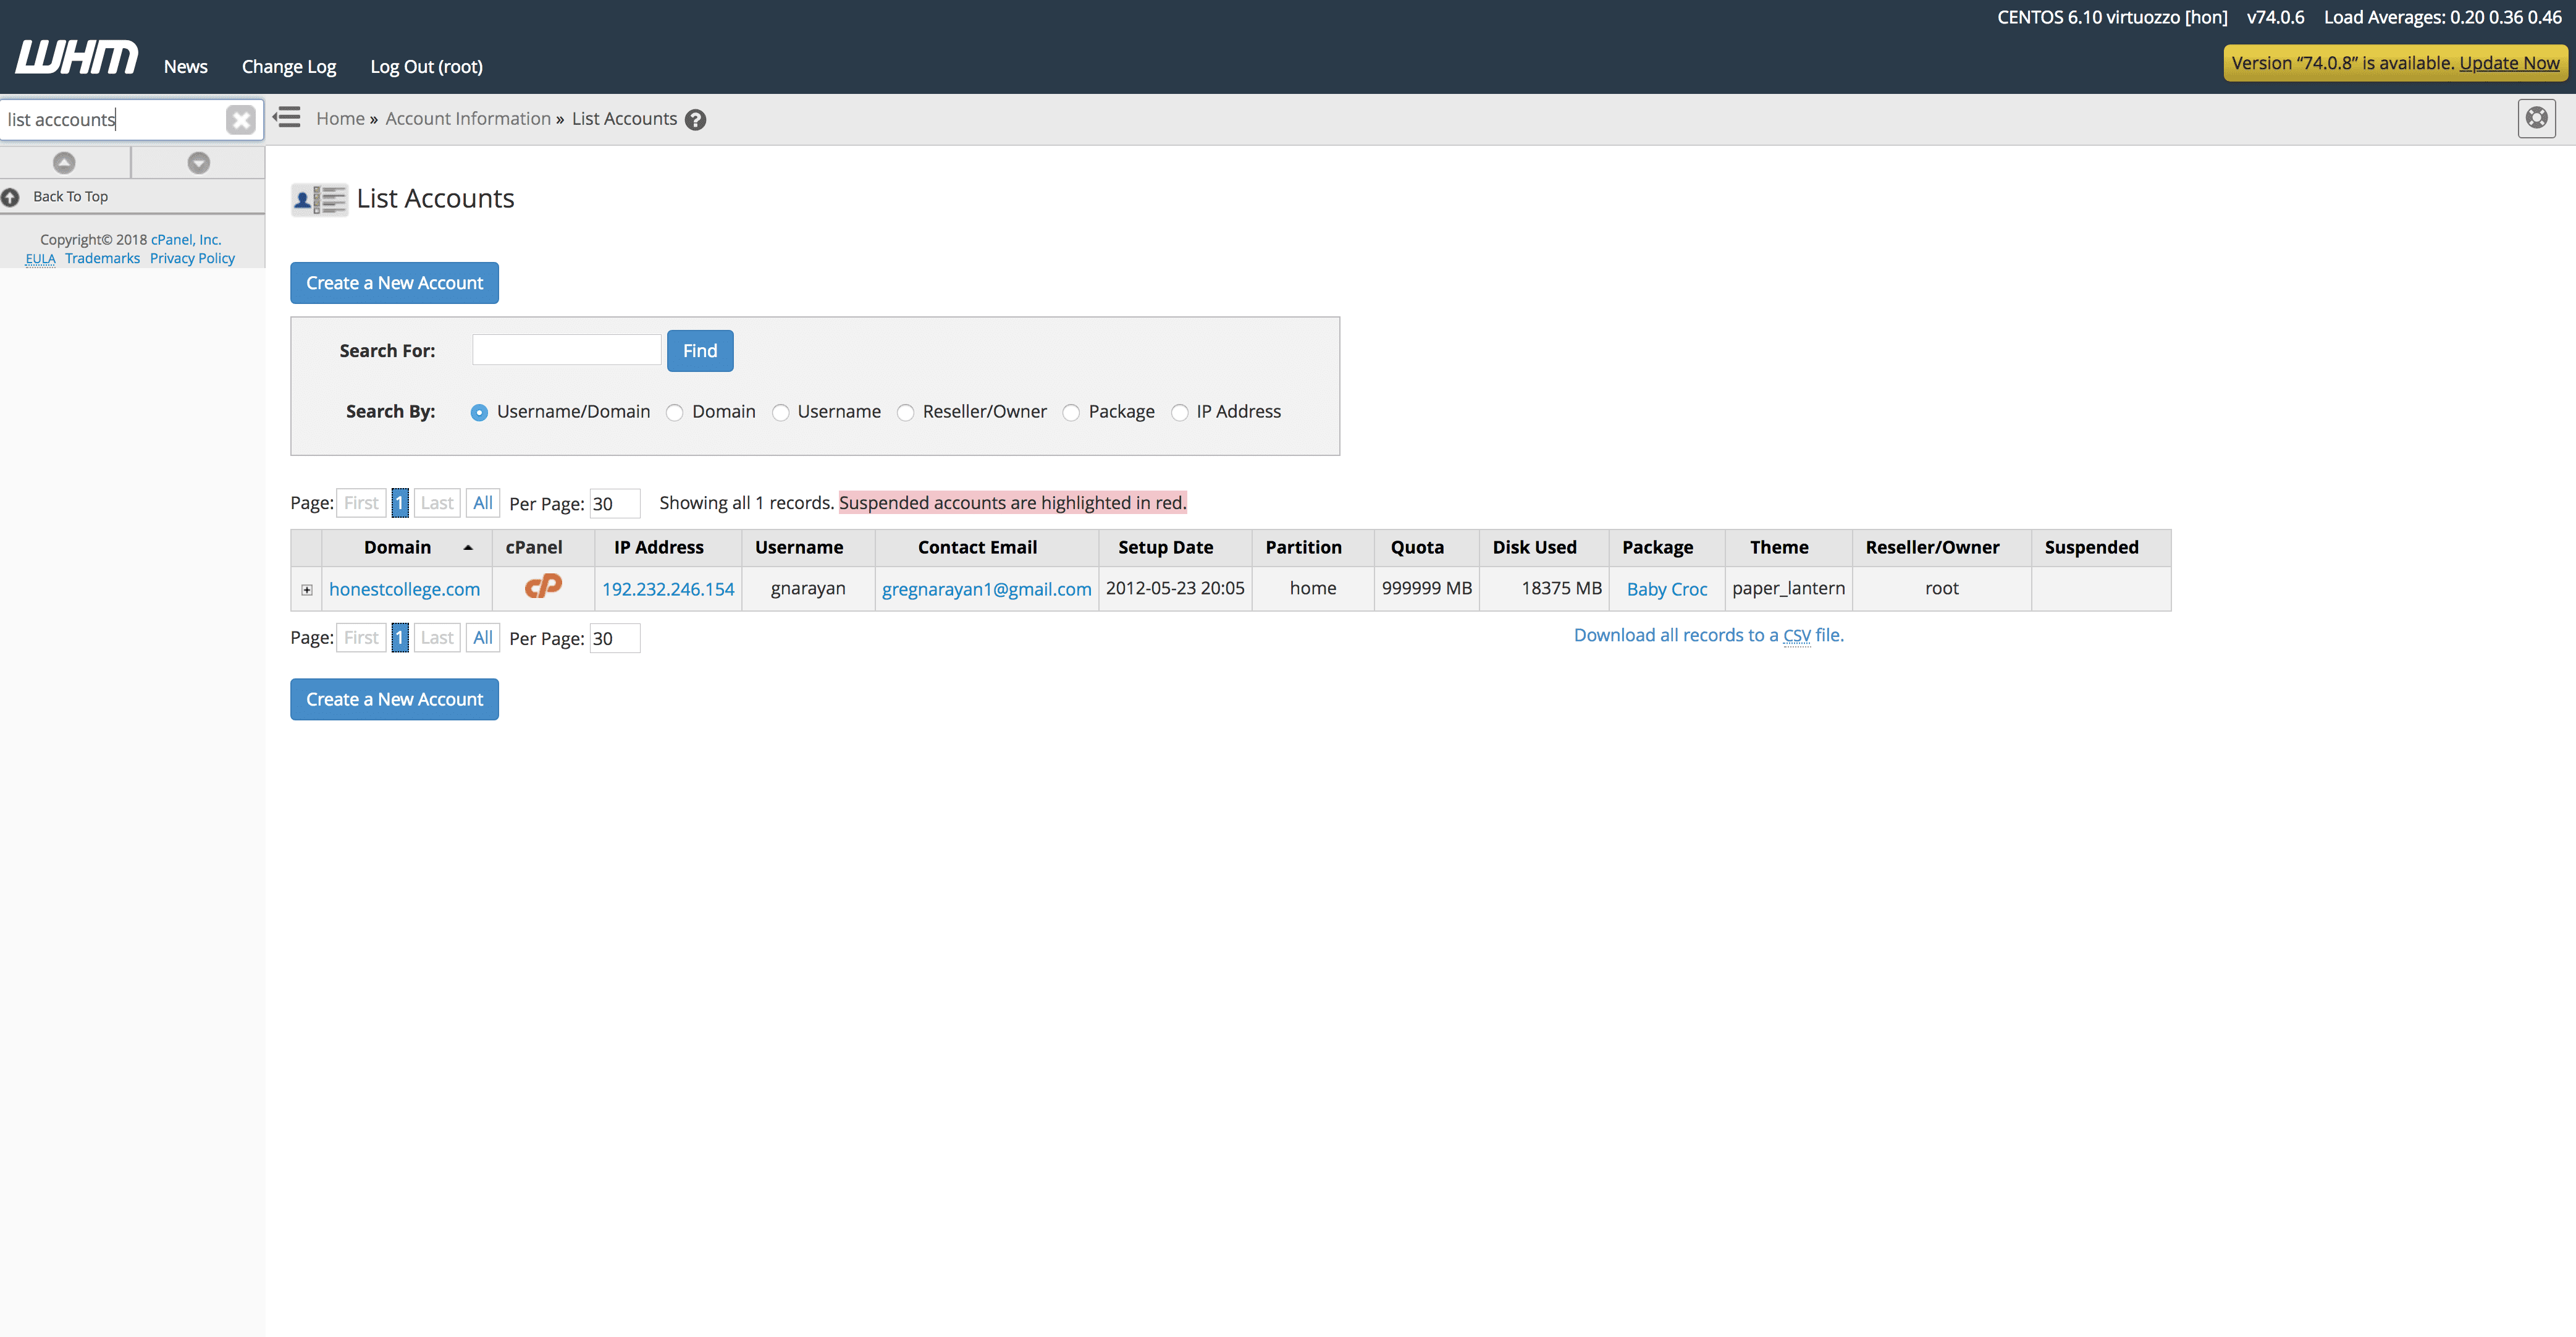
As we create more HostGator VPS tutorials, we’ll be sure to add any more interesting screenshots to the blog.
What Hosting Plan Do You Currently Love Most?
Where does your WordPress blog currently live? We’d love to hear what you love (or hate) about your hosting environment, like what’s helping you and holding you back? Let us know in the comments and let’s discuss!

If you run a small business, getting the best web hosting is very important. Time is money, and you lose dollars for every minute your site is down.
Yes, I agree with your points. Migrate shared hosting is really good hosting. Many of my friends told me about it. Once I had seen the web hosting in USA plan and that was really great and currently, I’m using it. VPS is also a good one
This is awesome. You guys now rock.
Site really fast and “secure”